September 13 2007


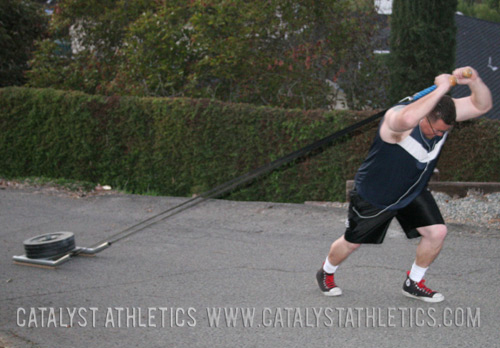
Pulling a metal sled on a cement surface is problematic for two primary reasons: first, the skids will eventually be ground away leaving you with an entirely useless piece of equipment, and two, the neighbors don't appreciate the sound of metal scraping over cement for extended periods of time.
Instead of spending money on a new sled, spend $10 and 30 minutes on some aftermarket modification to allow the use of your current sled on the cement.
You will need:
- A sled
- A strip of wood (Hardwood will wear more slowly. I used red oak, not because I'm particularly fond of red oak, but because it was the hardest wood I could find at Home Depot without anything more than a cursory survey of available wood. If you'll be dragging on particularly rough cement, consider using a thicker piece of wood to prolong its life)
- 4 bolts (low profile, round head)
- 4 lock nuts
- 8 washers
- Saw
- Drill and bits
- Clamps (optional)
- Tape (optional)
- Pencil (optional)

1. Measure skids
Measure the length of the skids on the sled. You can use a measuring tape and be precise if you'd like, but since these skids are going to be replaced regularly after wearing down, and precision will play no role in performance, I wouldn't bother. Just lay the wood against the sled skid and mark the appropriate length.
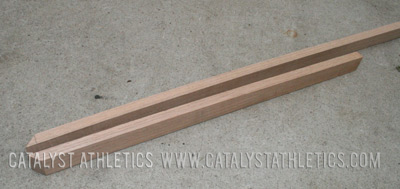
2. Cut the Skids
Cut one skid from the wood strip at a 45 degree angle. The angled cut will be the front of the skid (and the angle on the leftover piece will be the front of the second skid).
Cut second skid. Align the first runner with the remaining wood, angled ends together, to measure the second runner easily. Remember, precision in this case is a waste of time.
3. Drill skids
Drill the bolt holes in the sled. To save time, clamp the two runners together and drill them out at the same time. Don't worry about exact measurements. When it's time to replace the runners, just use the old ones as drilling guides.

4. Drill recess holes
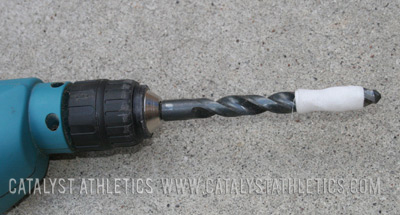
Use a larger bit to drill a little more than halfway through the runner to create a recessed hole for the head of the screws. Tape the drill bit as a guide to keep from drilling too deep.
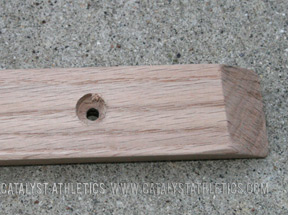
5. Sand Skids
Sand runner edges down somewhat to reduce the chance of an edge catching and splintering the runner.
6. Drill Sled
Align the runners on the bottom of the sled and clamp to drill out the sled. Make sure the bottoms of the skids are flat! An easy way to do this is to lay the remaining section of wood across the skids perpendicularly to keep them flat while you clamp them in place. Once one hole is drill, drop a bolt through to ensure it remains aligned while you drill the second hole.
7. Bolt skids to sled
Bolt the runners to the sled and trim any excess bolt if needed.
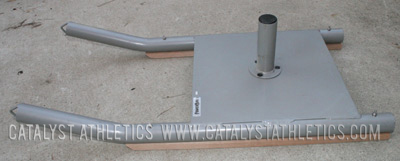
8. Do something with the sled
Add some weight and drag it around.